Windows 11 is the latest version of Microsoft’s operating system and it has been gaining a lot of popularity among users. If you’re planning to upgrade to Windows 11, you will need to create a bootable USB drive to install it on your computer. In this article, we’ll show you how to create a bootable USB drive for Windows 11 using Rufus.
Go to:
What is Rufus?
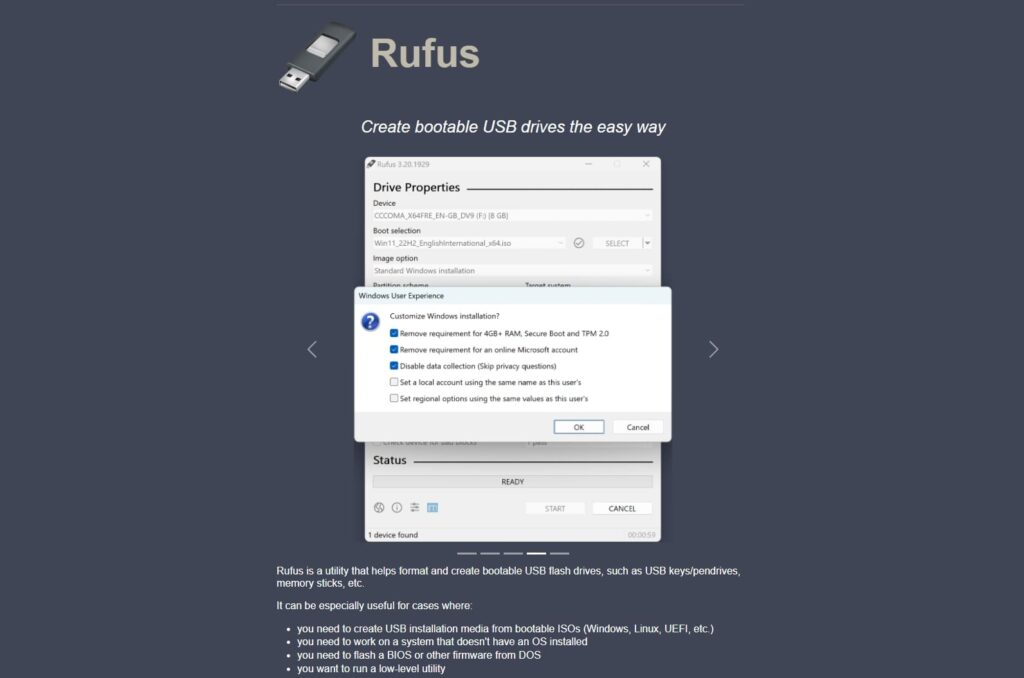
Rufus is a free and open-source software that allows you to create bootable USB drives from ISO files. It’s a lightweight tool that’s easy to use and supports a wide range of ISO images, including Windows 11.
How-to steps on creating a Windows 11 bootable USB drive with Rufus
Creating a Windows 11 bootable USB drive using Rufus is quite simple, this article covers the specific steps for creating a bootable Windows drive.
Step 1: Download Rufus
Download Rufus software from their website.
Rufus offers alternative ways of usage, such as the portable version or Github, apart from their installer. The procedure remains unchanged regardless of the option you choose. The decision is up to you.

Step 2: Insert USB Drive
Insert the USB drive into your computer’s USB port. Make sure there are no important data on the drive as the process of creating a bootable drive will include formatting the USB drive and this will erase all data from the drive.
Step 3: Run Rufus
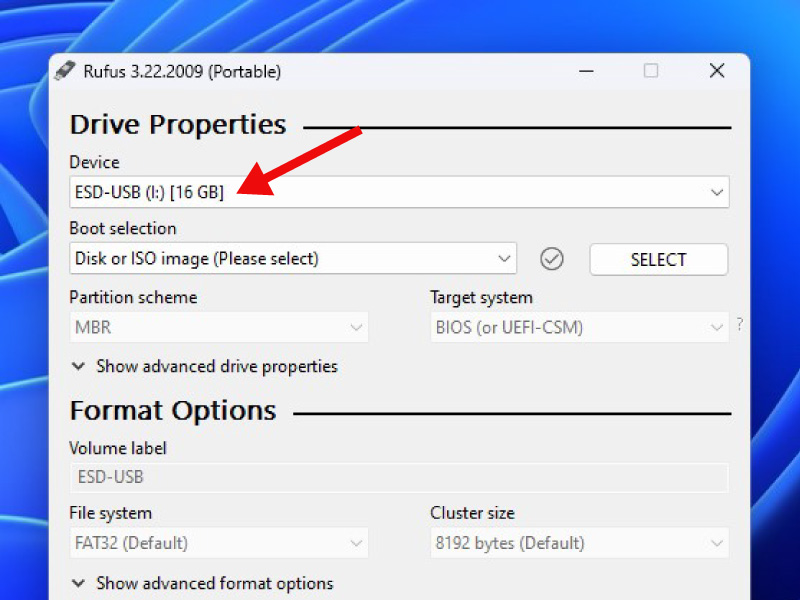
Run the downloaded Rufus software and select the inserted USB drive (Step 2) from the “Device” dropdown menu.

Step 4: Locate Windows 11 ISO image as your source
Click on the “SELECT” button next to the “Boot selection” dropdown menu and select the Windows 11 ISO image file you downloaded.
Step 5: Configure Rufus Settings
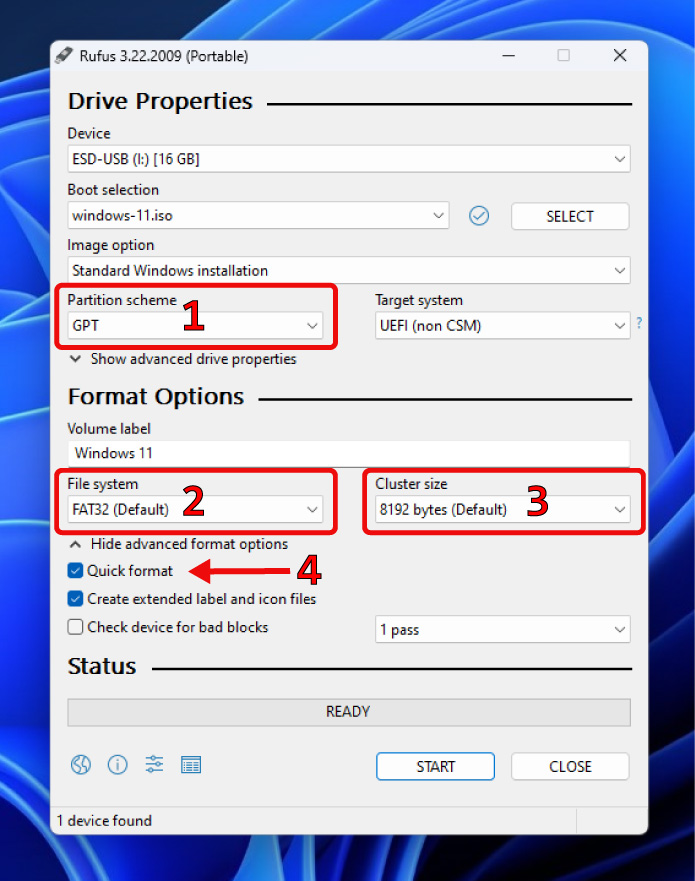
Configure the Rufus settings as follows:
- Partition scheme: Select “GPT” if your computer uses UEFI firmware. Select “MBR” if your computer uses BIOS firmware.
- File system: Select “FAT32” as the file system.
- Cluster size: Leave it as default.
- Quick format: Check the “Quick format” option.

Step 6: Start the Process
Click on the “START” button to start the process of creating a bootable USB drive for Windows 11. Rufus will erase all data from the USB drive and copy the Windows 11 ISO image to the drive.

Wait for the process to complete. It may take a few minutes depending on the speed of your computer and the size of the ISO image file. It should say “READY” in the Status section after the transfer process.

Step 7: Eject the USB Drive
Once the process is complete, eject the USB drive from your computer and it’s ready to use as a bootable drive for installing Windows 11 on your computer.
Wrap Up
Creating a bootable USB drive for Windows 11 using Rufus is a simple and easy process. Just follow the steps mentioned above and you’ll have a bootable drive ready in no time. Remember to take a backup of all important data on your computer before proceeding with the installation of Windows 11.


