If you wish to install Google Chrome but Window’s default Edge browser isn’t really your type or you have a freshly installed Windows OS without any browser included, then PowerShell is your friend. After reading this article, you’ll be able to learn how to install Google Chrome using PowerShell in Windows 11. Installing a browser using another browser is so mainstream anyway so let’s try doing it using CMD instead.
Go to:
What is PowerShell?
Now, what is PowerShell?
Windows PowerShell is a command-line shell and scripting language developed by the genius folks from Microsoft. It’s an advanced version of the regular Command Prompt, designed for system administrators and power users to automate basically any task and manage configurations in multiple systems.
Why use CMD or PowerShell instead of a browser?
There are some Windows installations like this unofficial Windows Tiny11 that don’t come with a default browser or simply you just don’t like installing your preferred browser using another browser, then, PowerShell is your option.
This installation method is also particularly useful for users who prefer to use PowerShell for automation or scripting purposes.
How to steps to install Google Chrome using PowerShell in Windows 11
Step 1: Open PowerShell as administrator
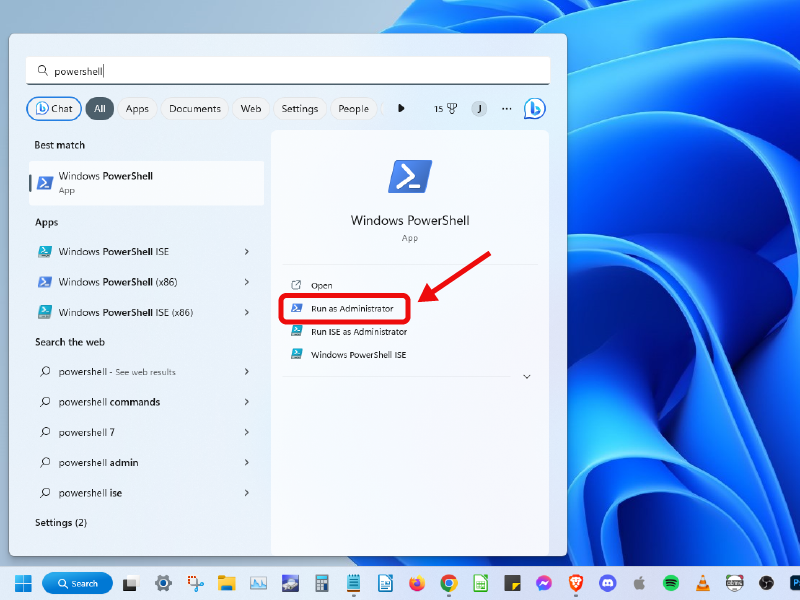
To open the PowerShell, access your Windows search by clicking the “Search” icon on your taskbar or pressing Windows+S on your keyboard and search for “PowerShell”. Then, click on “Run as Administrator” option.
Running the Windows PowerShell as an Administrator grants you the highest level of permission available on your Windows computer.
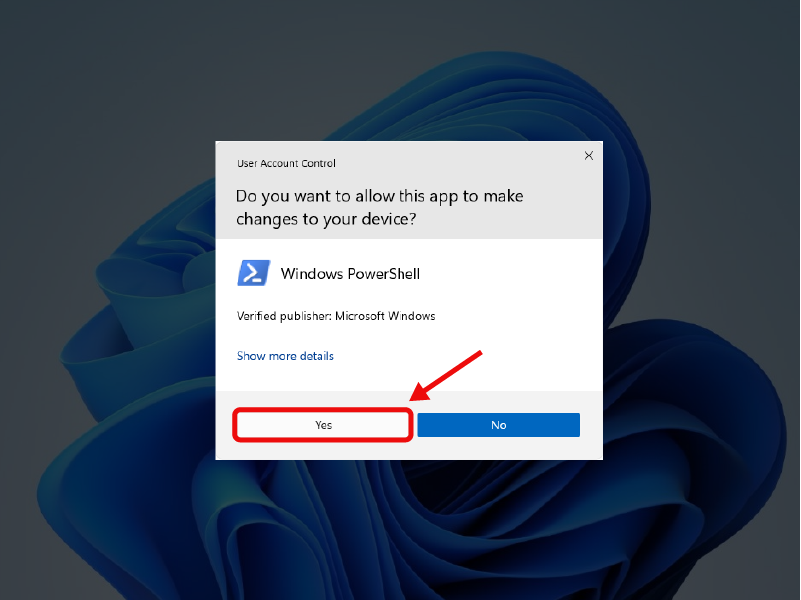
A prompt will pop out to confirm that you want to allow Windows PowerShell to make changes to your device. Simply click the “Yes” button to access Windows PowerShell.
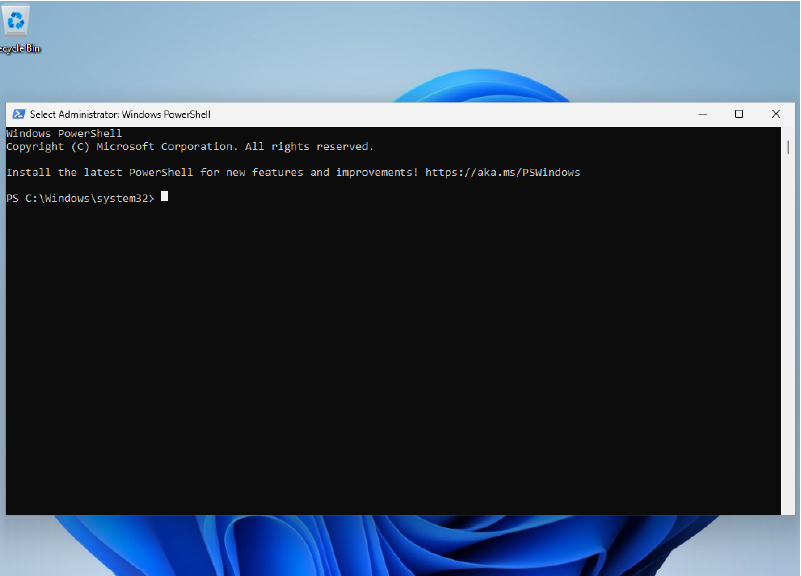
Step 2: Run the command line
Copy the command below:
$Path = $env:TEMP; $Installer = "chrome_installer.exe"; Invoke-WebRequest "http://dl.google.com/chrome/install/375.126/chrome_installer.exe" -OutFile $Path$Installer; Start-Process -FilePath $PathInstaller -Args "/silent /install" -Verb RunAs -Wait; Remove-Item $Path$InstallerInsert the copied command by pressing Ctrl+V on your keyboard or right-click on the title bar to access the “Edit” option and paste.
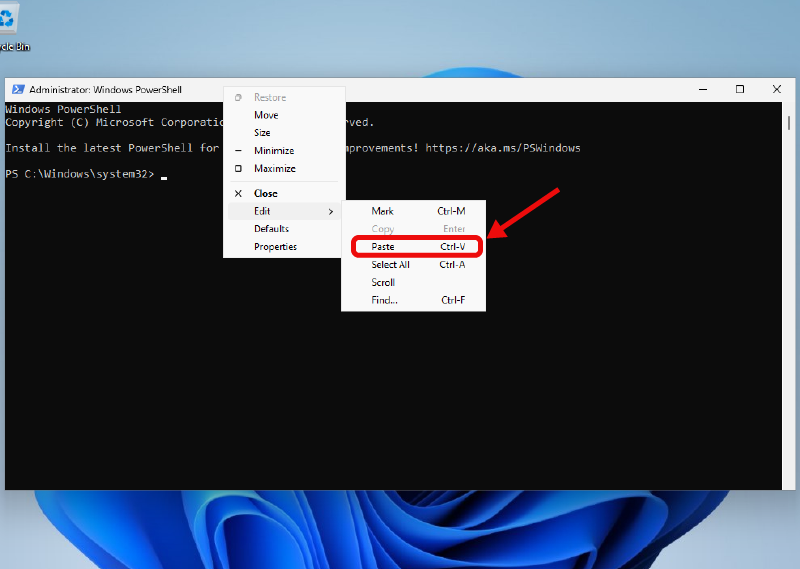
Press Enter to initiate the download and installation process.
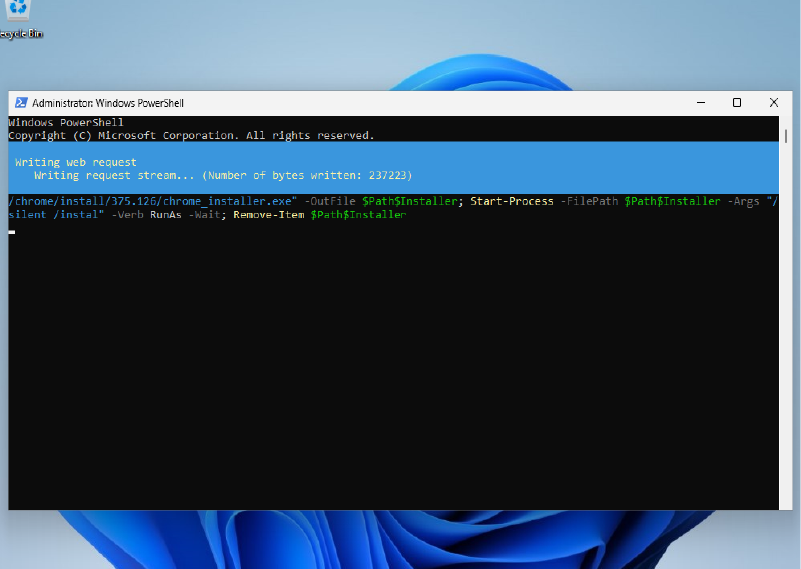
Your Google Chrome app should appear on your desktop.

Wrap Up
That’s it! You have installed Google Chrome without the help of a browser.
I have demonstrated how to install Google Chrome using PowerShell in Windows 11 in just two simple steps. The command involves downloading the Google Chrome installer file using PowerShell’s Invoke-WebRequest command, then running the installer file using the Start-Process command.
By following these steps, you can easily install Google Chrome on Windows 11 devices without having to go through the traditional installation process.

